Install and Setup the WooCommerce Plugin | Simple but powerful. It is a WooCommerce plugin. Woocommerce is the best plugin if you want to create your own ecommerce site. During I write this article, about 3 million of this plugin was downloaded and it still counting until now.
Based on Woocommerce team analysis, about 30% ecommerce site power by WooCommerce around the world. Does it sound amazing right?
This plugin also was used many by professionals and they already make 6-7 figures per month. That why I told you this plugin simple but powerful.
Install and Setup the WooCommerce
So, let's we learn how to install and setup Woocommerce step by step until you succeed to have your own ecommerce.
Before we start, I assume you already install your WordPress because this is the first thing you need to do. After installing WordPress, then you can follow the tutorial how to install WooCommerce.
Step 1: Log into your WordPress and navigate to Plugins >>> Add New
Step 2: Install new plugin for WooCommerce
Step 3: After install and activate the plugin, now you will go directly to wizard setup page. This Wizard setup page is an important setting to start your ecom.
Wizard setup page has SIX section.
- Store Setup
- Payment
- Shipping
- Extra
- Activate
- Ready
Now, we go through one by one. Continue to step 4...
Step 4: Store setup. In this section, you can configure about your ecommerce like your address, your currency and type of product you want to sell. Set and you determine it.
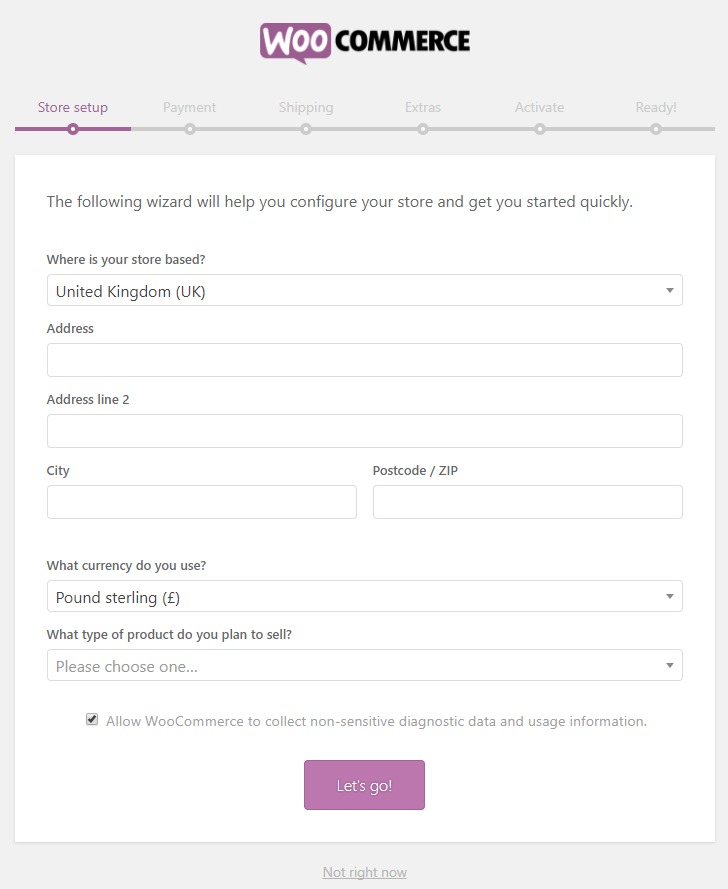
Then, click on the button Let's go!
Step 5: Next, you will go to the payment section. Here, you can setup about the payment you can receive. If your desire payment is not here, you no need to worry because you can add on another payment method by using plugin. I will tell you more about it on next article. For now, just tick which one more suitable for you.
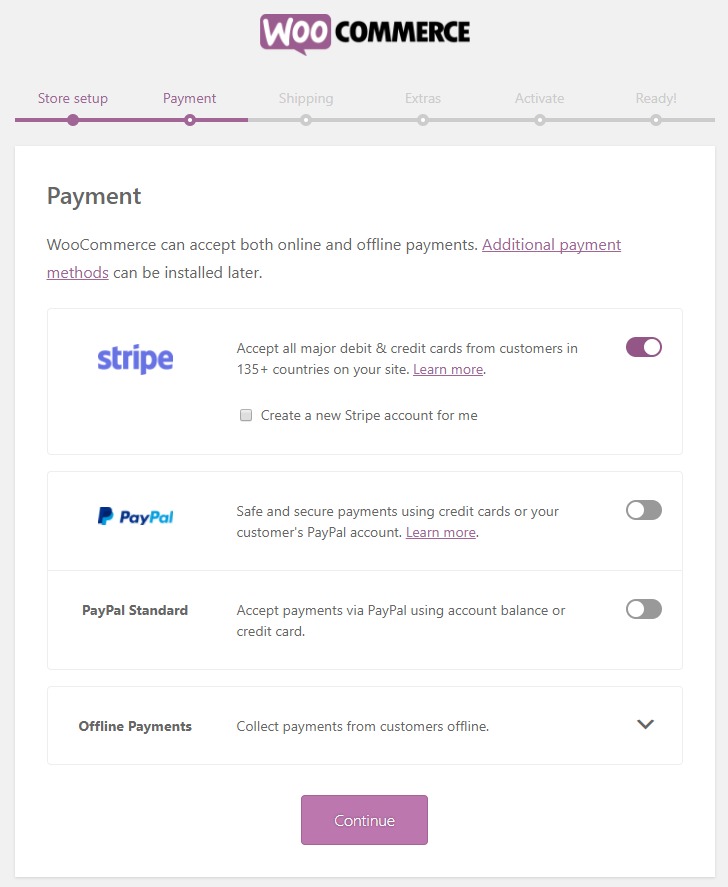
Click on the Continue button
Step 6: Next, you are on the Shipping section. Here you can setup shipping zone, cost of shipping by zone, weight and unit. Determine here how you want to configure your shipping cost.
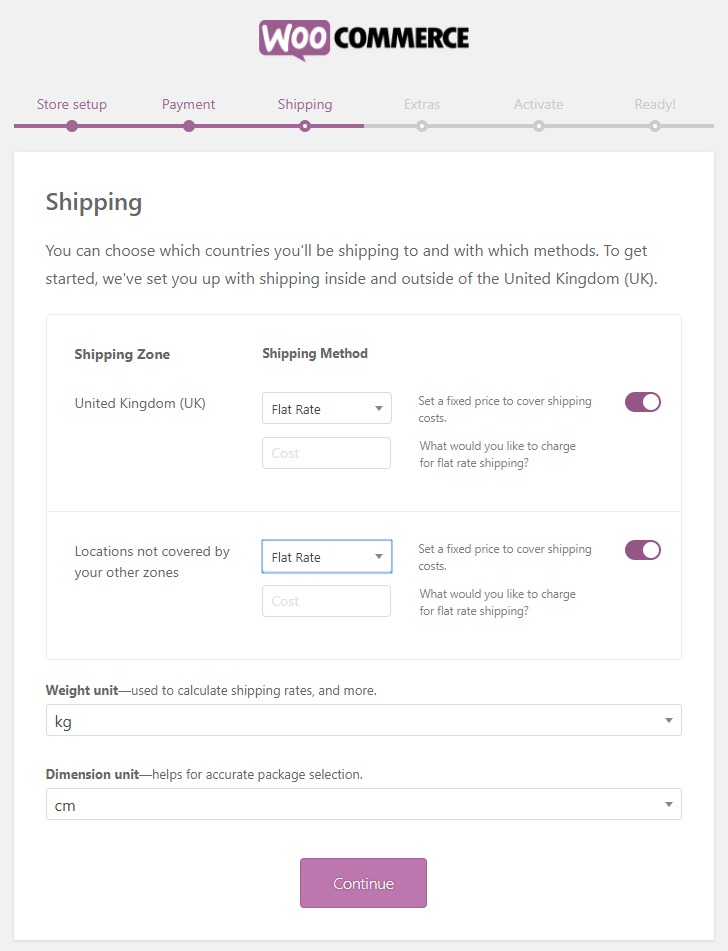
Then, click on Continue button.
Step 7: Next, you will go to Extra section. Here you can skip step. If you want more information, you can read it.
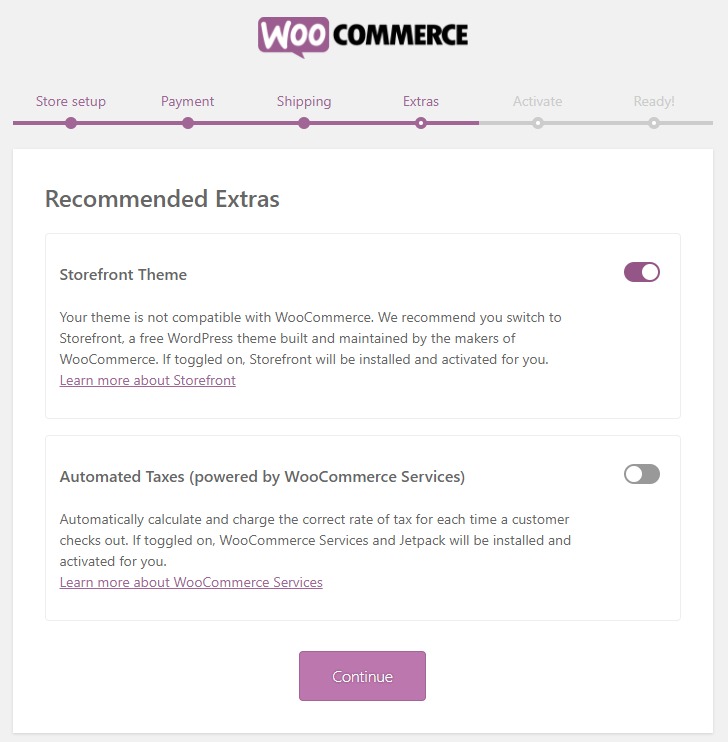
Then, click on Continue button
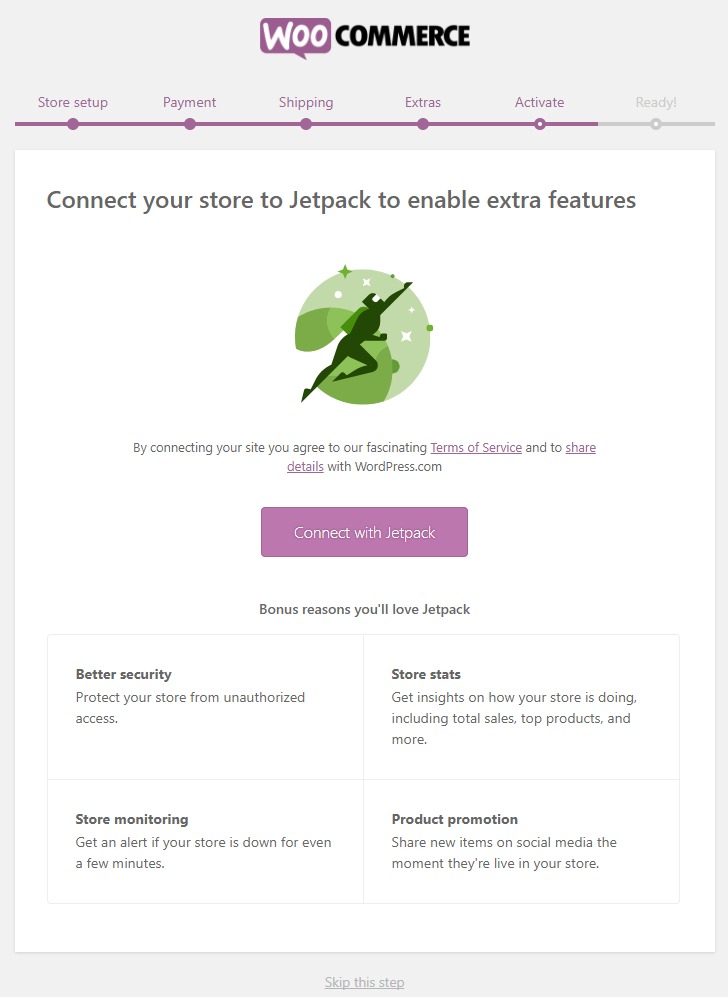
Step 8: Next, on Extra section, you have an option to connect your WooCommerce with Jetpack plugin if you want to enable extra features. I recommend to skip this.
Step 9: Now you are on the last page Wizard Setting.

Lastly, click on "Return to your dashboard" or you can create products now. For create products, I will show you on the next tutorial.
Actually, it has more advance setting to compatible with your needs. But, this setting wizard was enough for you if you want as basic selling. So, please stay with us if you want more tutorial.
Conclusion
In this article, you have learned how to install and setup WooCommerce plugin properly.