• Skip to primary navigation
  • Skip to main content
  • Skip to primary sidebar
  • Skip to footer
MinutesGuide.com

MinutesGuide.com

It is Not Just About WordPress

  • Home
  • About
  • Blog
    • Blogger Talk
    • Email Marketing
    • Hosting Talk
    • Plugins
    • Themes
      • Extra & Divi
    • WPbeginner
      • Guide
      • Life Hacks
      • WP Fix
    • WP Security
    • WP SEO
    • WooCommerce
  • Services
  • Reference
  • Contact
  • Start Here
Home » Blog » WooCommerce » How to Change Background ̶…

How to Change Background “Successfully Added to Cart Message” In WooCommerce

Post on February 6, 2018 | Updated on December 10, 2020 by FaizAlias 2 Comments

Change Background Successfully Added to Cart Message |  Are you trying to change the background on “successfully added to cart message” in WooCommerce like in the picture below?

successfully added to cart message

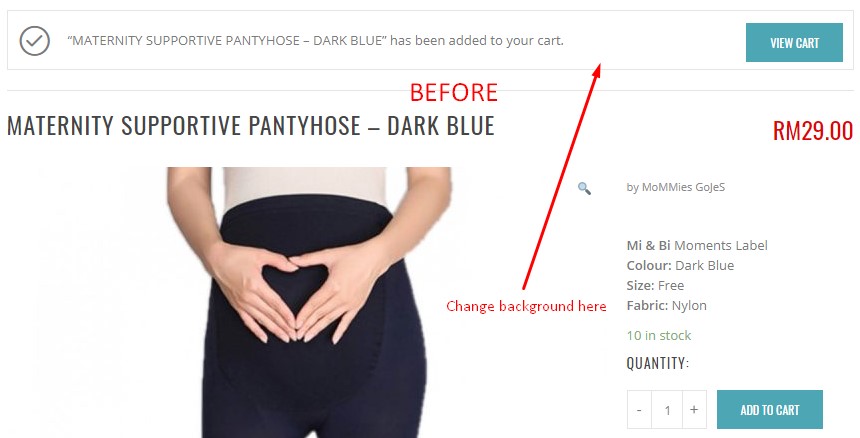
In our situation, the background almost similar on-page background, white. So, we need to change it to another color like blue or yellow.

In this tutorial, we will show you how you can change the background color. Follow this our tutorial.

Change Background “Successfully Added to Cart Message”

Before we start, you must know that in this tutorial you can change the color only. You cannot replace it with an image.

Step 1 Copy the CSS code below.

Step 2 Paste it on your custom CSS theme, or you can change it on the WordPress CSS customizer. Then save it.
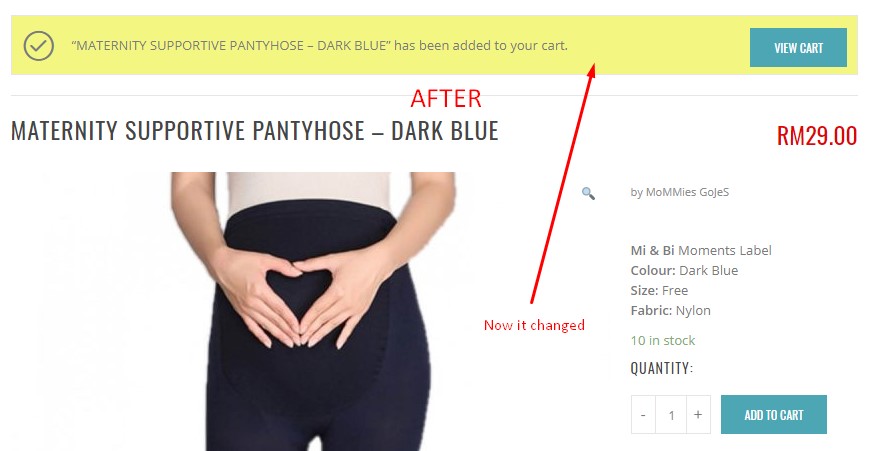
Now it has changed.

successfully added to cart message

When Do You Need to Apply This Tutorial?

Sometimes in a WordPress theme, they are set on this background the same color as the page. So, your customers are not aware of the presence of the message. The solution is you can change the background color to make your customer more aware of the message.

Conclusion

In this tutorial, you have learned how to change background Successfully Added to Cart Message in WooCommerce. Just follow our tutorial above, and you will find the solution.

If you like this article, then please FOLLOW our Linkedin, Twitter, YouTube, Pinterest, and Facebook. Do not forget to check our services page to upgrade your WordPress. If you find this post has an issue with copyright, outdated, or in error, please contact us to fix it.

Related Article..

  • Unpaid Order Cancelled – Time Limit Reached
  • Change Text “Returning Customer?” Message on WooCommerce Checkout
  • How to Put Logo in WooCommerce Email Template
  • How to Remove Billing Address in WooCommerce (Easy Step)
  • How to Change Order Status Automatically in WooCommerce?

Filed Under: WooCommerce

Reader Interactions

Comments

  1. blankSebastian Hofstetter says

    November 9, 2020 at 7:10 am

    Hey,

    I’d like to do the same, but it does not work for me.
    Is this CSS still up to date?

    Best regards,
    Sebastian

    Reply
    • blankFaizAlias says

      November 9, 2020 at 1:07 pm

      yes..it still working for me…I was afraid your CSS has issues with the current theme or any plugins…

      Reply

Leave a Reply Cancel reply

Your email address will not be published. Required fields are marked *

Primary Sidebar

Follow Me

  • Facebook
  • GitHub
  • LinkedIn
  • Pinterest
  • Twitter
  • YouTube

Start With…

blank
Start Blogging
blank
eShop Guide
blank
WP Guide
blank
WP Security

Categories

blank

Footer

About MinutesGuide

Was founded in October 2017 by FaizAlias. The main goal of this site is to provide quality tips, tricks, hacks in easy way that you can learn it just in minutes.

Highlight Service

Ninja Tables Pro Installation And Setting
CSS Hero Plugin Installation And Setting
Divi Theme Installation & Settings
Build Complete eCommerce Site

Quicklink

Home
Services
Contact
Blog

Copyright © 2021 · Designed by SM Creative Studio | Hosted by Cloudways DMCA.com Protection Status

  • Privacy Policy
  • Terms of Use